基于 SSE 实现 MCP Server 和 MCP Client
本案例通过 MCP 协议实时获取天气信息,并将其传递给大模型进行处理,使用户能够通过与大模型对话的方式轻松获取天气信息。
运行环境与前提条件
| 组件 | 说明 | 版本 |
|---|---|---|
| Java | Spring AI 基于 Spring Boot 3.x 开发,因此JDK版本要求为17及以上 | 17+ |
| Spring Boot | Spring AI 支持 Spring Boot 版本为 3.4.x | 3.4.x |
| Spring AI | Spring AI | 1.0.0-M7 |
| Maven | Maven | 3.9+ |
MCP 服务端实现
创建 MCP Server 项目
创建 spring-ai-m7-mcp-sse-server Spring Boot 项目。
添加依赖
项目中添加 spring-ai-starter-mcp-server-webflux 或 spring-ai-starter-mcp-server-webmvc依赖
xml
<dependency>
    <groupId>org.springframework.ai</groupId>
    <artifactId>spring-ai-starter-mcp-server-webflux</artifactId>
    <version>1.0.0-M7</version>
</dependency>
xml
<dependency>
    <groupId>org.springframework.ai</groupId>
    <artifactId>spring-ai-starter-mcp-server-webmvc</artifactId>
    <version>1.0.0-M7</version>
</dependency>
配置 MCP 服务端
在 application.properties 或 application.yml 中配置 MCP 服务端
properties
spring.ai.mcp.server.name=mcp-weather-server
spring.ai.mcp.server.sse-message-endpoint=/mcp/weather-sse
spring.ai.mcp.server.type=sync
yaml
spring:
  ai:
    mcp:
      server:
        name: mcp-weather-server
        sse-message-endpoint: /mcp/weather-sse
type: sync配置详细说明见:Spring AI MCP Server 属性配置
实现 MCP 工具
java
import org.slf4j.Logger;
import org.slf4j.LoggerFactory;
import org.springframework.ai.tool.annotation.Tool;
import org.springframework.ai.tool.annotation.ToolParam;
import org.springframework.stereotype.Service;

@Service
public class WeatherService {

    private static final Logger logger = LoggerFactory.getLogger(WeatherService.class);

    @Tool(description = "按城市名称获取天气信息")
    public String getWeather(@ToolParam(description = "城市名称,例如:西安") String cityName) {
        logger.info("获取天气信息,城市名称:{}", cityName);
        // 这里模拟天气信息查询,实际应用中需要调用天气API获取天气信息
        return "当前城市:" + cityName + "\n" +
                "天气状况:晴天转多云 \n" +
                "风力:西北风,阵风6-7级 \n" +
                "气温:9℃~27℃,昼夜温差较大 \n";
    }
}
通过使用 @Tool 注解和 @ToolParam 注解,可以轻松地将普通的 Java 方法转换为 MCP 工具,使其可以被MCP客户端发现和调用。
注册 MCP 工具
在应用程序入口类中注册工具
java
@SpringBootApplication
public class McpServerApplication {

    public static void main(String[] args) {
        SpringApplication.run(McpServerApplication.class, args);
    }

    /**
     * WeatherService 工具注册
     */
    @Bean
    public ToolCallbackProvider weatherTools(WeatherService weatherService) {
        return MethodToolCallbackProvider
                .builder()
                .toolObjects(weatherService)
                .build();
    }
}
运行服务端
使用IDEA运行服务
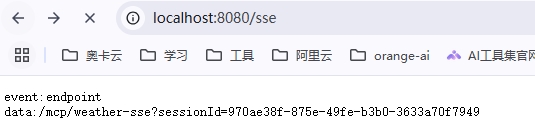
服务端启动后,可以通过浏览器访问 http://localhost:8080/sse 查看服务状态。如下图成功:
MCP 客户端实现
创建 MCP Client 项目
创建 spring-ai-m7-mcp-sse-client Spring Boot 项目。
添加依赖
xml
<dependency>
    <groupId>org.springframework.boot</groupId>
    <artifactId>spring-boot-starter-web</artifactId>
</dependency>

<dependency>
    <groupId>org.springframework.ai</groupId>
    <artifactId>spring-ai-starter-mcp-client-webflux</artifactId>
    <version>1.0.0-M7</version>
</dependency>

<!-- 智谱 AI 依赖 -->
<dependency>
    <groupId>org.springframework.ai</groupId>
    <artifactId>spring-ai-starter-model-zhipuai</artifactId>
    <version>1.0.0-M7</version>
</dependency>
配置 MCP 客户端
在 application.properties 或 application.yml 中配置 MCP 客服端配置
properties
spring.ai.zhipuai.api-key=xxxx

spring.ai.mcp.client.name=hengzq-mcp-client
spring.ai.mcp.client.type=sync
spring.ai.mcp.client.sse.connections.mcp-weather-server.url=http://localhost:8080

# 启用 才会初始化 ToolCallbackProvider
spring.ai.mcp.client.toolcallback.enabled=true
yaml
spring:
  ai:
    mcp:
      server:
        name: mcp-weather-server
        sse-message-endpoint: /mcp/weather-sse
        type: sync
    zhipuai:
api-key: xxxx配置详细说明见:Spring AI MCP Client 属性配置
使用 MCP 客户端
java
@RestController
public class ChatController {

    private final ZhiPuAiChatModel chatModel;

    private final List<McpSyncClient> clients;

    public ChatController(ZhiPuAiChatModel chatModel, List<McpSyncClient> clients) {
        this.chatModel = chatModel;
        this.clients = clients;
    }


    @GetMapping(value = "/chat", produces = MediaType.TEXT_EVENT_STREAM_VALUE)
    public Flux<String> chat(String prompt) {

        ChatClient chatClient = ChatClient.builder(chatModel)
                .defaultTools(McpToolUtils.getToolCallbacksFromSyncClients(clients))
                .build();

        return chatClient.prompt(prompt)
                .stream()
                .chatResponse()
                .map(response -> {
                    return response.getResult().getOutput().getText();
                });
    }
}
测试
使用 Apifox 工具调用如下:
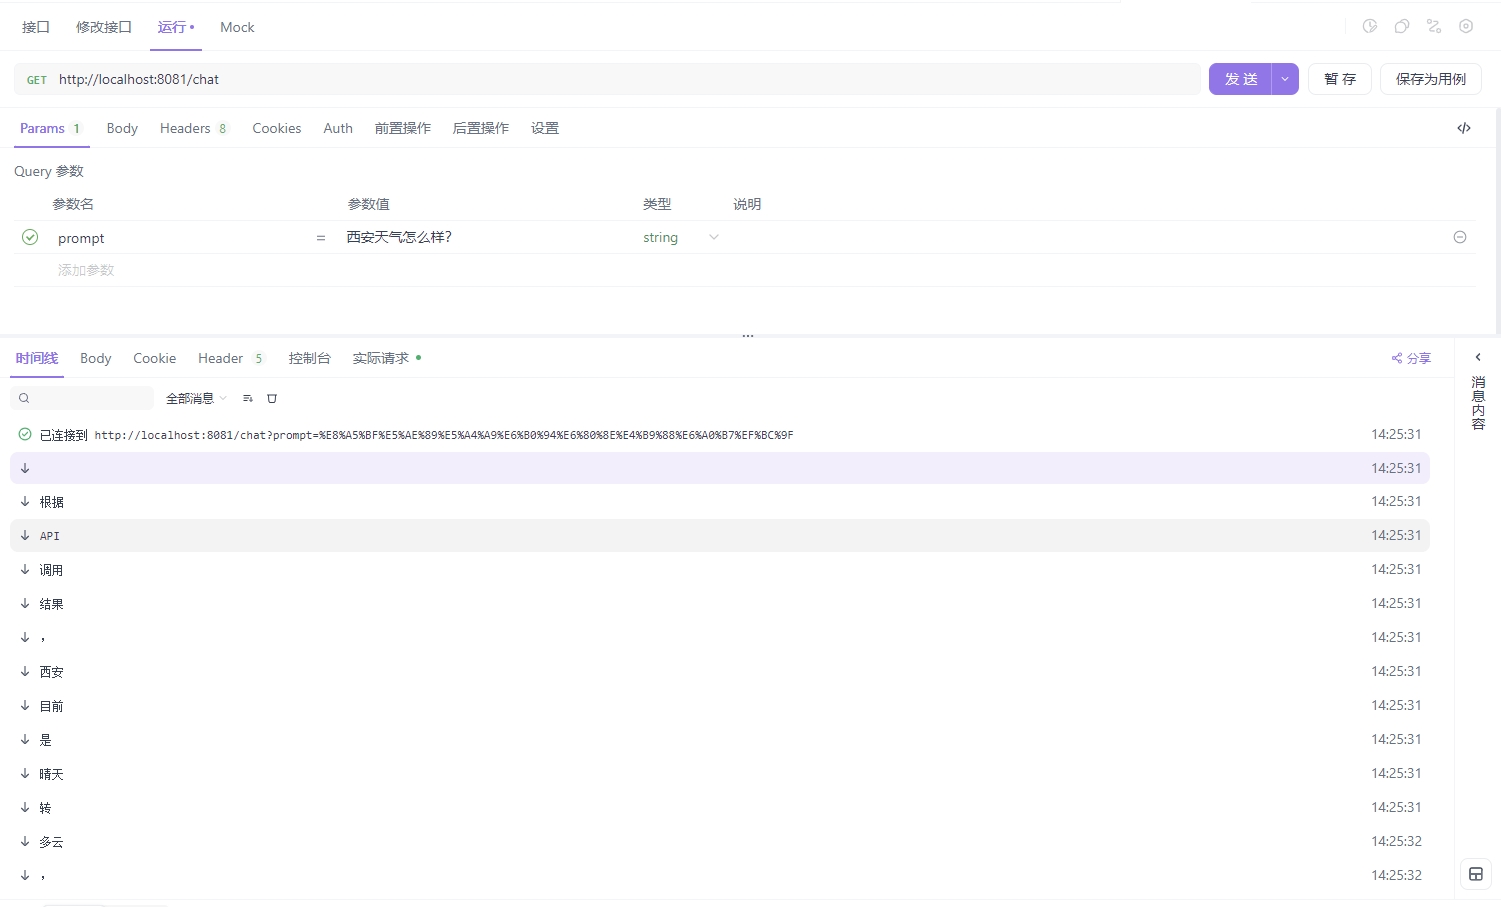
查看服务器端日志,会发现 WeatherService 已被调用
